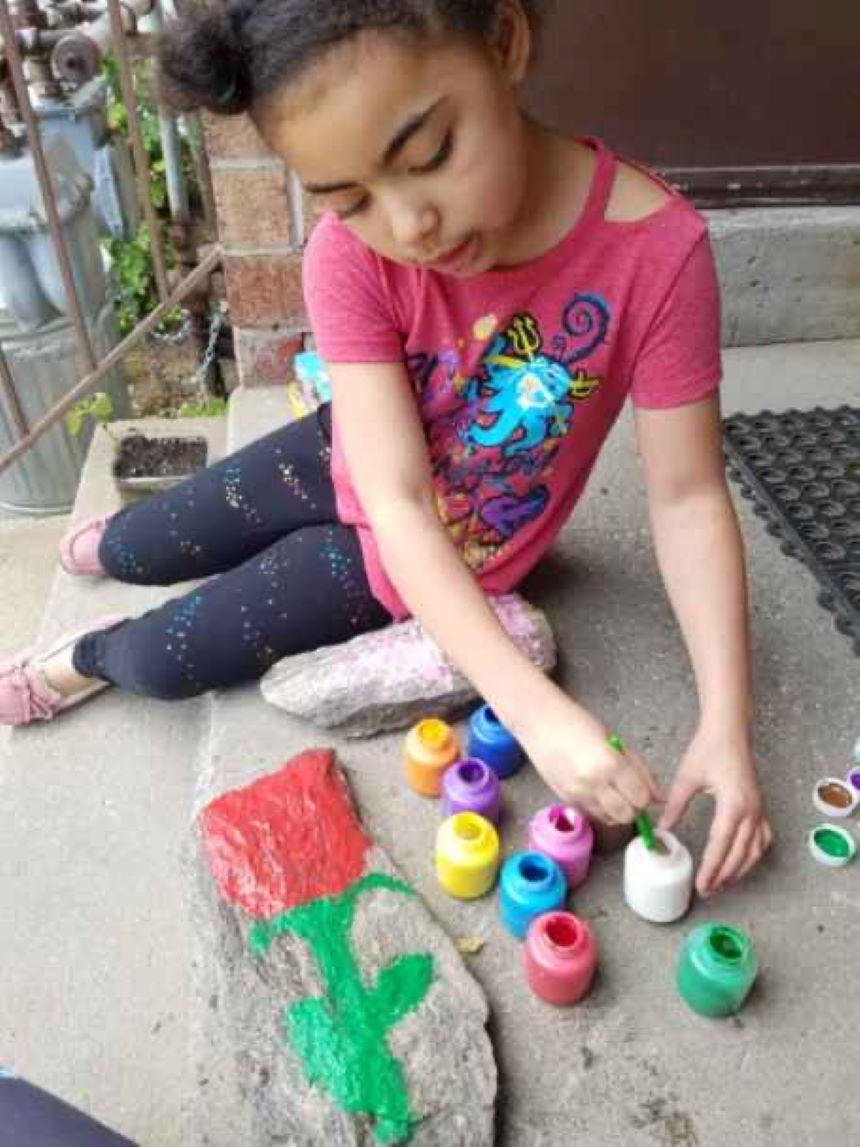
Time to get creative with natural materials. This week use your imagination to make some cool painted rocks. It’s super simple and lots of fun.
First collect some rocks. Smooth rocks will give a nice painting surface, but lumps and bumps can make it more interesting. Think of different shapes and sizes. Once collected wash them to remove any dirt and make sure they are completely dry before painting.
Gather your rocks and paints (acrylic or poster paints are needed; watercolors will not work for this) and decide what you want to draw on each rock. Small round stones might become ladybugs or turtles while larger stones might become home to a family portrait or a bunch of flowers. Maybe your goal is just to cover them with color, go for it. If you don’t have paint, permanent markers can work as well just select light colored rocks.
Keep in mind that if you intend to leave your painted stones outside that you make sure your paint is weatherproof or coat it with a weatherproof layer before placing outside. Once dry you can use them to decorated potted plants or place them around a garden, or build your pet rocks a place to live. Have fun.


